Fix AirPods or AirPods Pro Connected But No Sound Issue
Here are the reasons why my AirPods are connected but no sound emitting issue:
Fix AirPods or AirPods Pro Connected But No Sound Issue Method 1: Charge the AirPods Method 2: Re-connect Your AirPods Method 3: Remove All Other Bluetooth Devices Method 4: Clean the AirPods Method 5: Adjust Audio Balance Method 6: Turn off Automatic Ear Detection Method 7: Update to the Latest Version Method 8: Reset AirPods and Pair Again Method 9: Contact Apple Support
Low Battery – Insufficient battery charging of AirPods may be the reason behind it. Bluetooth Connectivity issues – There is a chance that there’s no sound due to Bluetooth connectivity. Hence, reconnecting the AirPods should help. Improper Configurations on the connected device – could also lead to such problems. If all else fails, Reset your AirPods or AirPods Pro to resolve any & all problems associated with it.
Method 1: Charge the AirPods
We often do not realize that we have been using our AirPods for quite some time now. Despite the long-lasting battery life, there will arise a point when your AirPods run out of juice. This is one of the most straightforward explanations of the AirPods Pro connected but no sound issue.
If you are using them with an iPhone or iPad, then simply put them back in the case and reopen the lid. You will now be able to see a card pop-up on the screen displaying the battery percentage of both the air pods and the charging case. The other alternative is to use the Battery widget to check the battery percentage of the AirPods. If you are using a MAC, then you can click on the Bluetooth icon and hover your mouse pointer over the AirPods. It will show the battery percentage for each AirPod and the case separately.
Note: Remember that the battery percentage of the case will only be visible when at least one AirPod is inside the case.
If you find out that the batteries are low (below 10%) then go ahead and charge them first. Make sure that the case is also charged. Now try again and see if the issue is resolved or not. Also Read: Fix AirPods Not Charging Issue
Method 2: Re-connect Your AirPods
Before moving on to more complex solutions, try disconnecting and re-connecting your AirPods as follows:
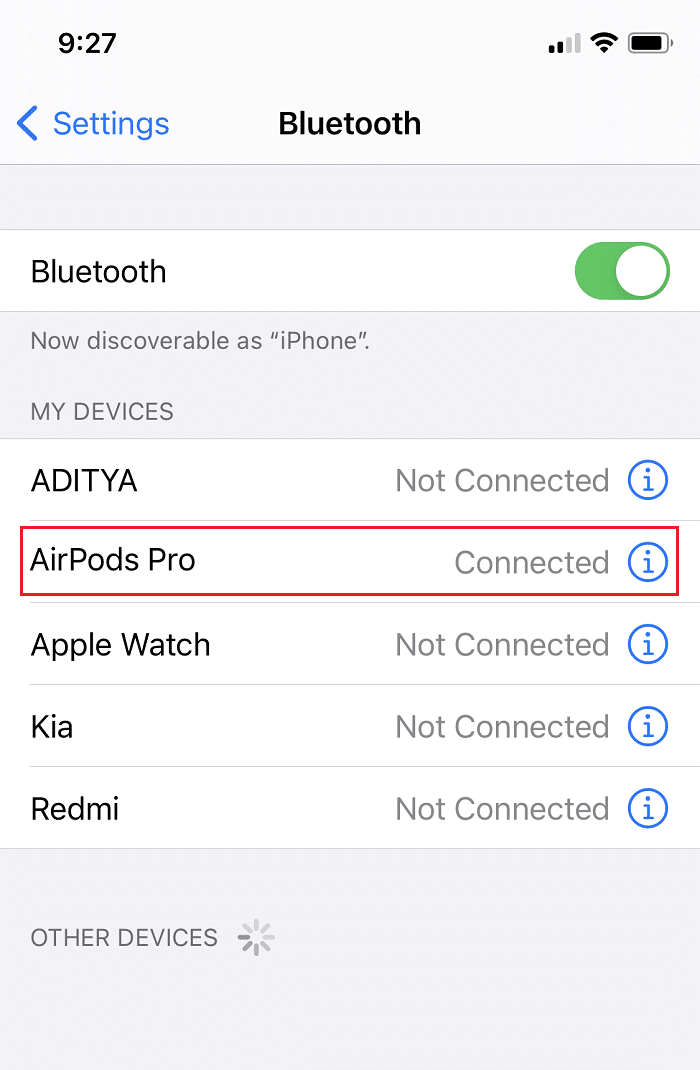
On your iOS device, tap on Settings > Bluetooth.
Tap on the AirPods, which are connected. e.g. AirPods Pro.
Now, select Forget this device option and tap on confirm. Your AirPods will now be disconnected from your device.
Take both the AirPods and put them into the Wireless case. Bring the case close to your device so that it gets recognized.
An animation will appear on your screen. Tap Connect to reconnect the AirPods with the device. If the AirPods do not work even after reconnection, try other solutions mentioned in this list.
Method 3: Remove All Other Bluetooth Devices
Make sure to turn off other Bluetooth devices and disconnect/remove these devices from Bluetooth settings on your phone. Also, you need to be within 10 meters of your phone, or else your AirPods will not work. In some cases, other devices like Microwave, cordless phones, Wi-Fi, wireless cameras, etc., end up using a frequency that is very close to the one that the AirPods are using. This might also cause conflicts and lead to AirPods malfunctioning.
Also Read: Fix AirPods Only Playing in One Ear
Method 4: Clean the AirPods
This might seem redundant, but you will be surprised how many times the audio output is blocked by physical obstructions like dirt and dust.
Only use a soft microfiber cloth to clean the spaces between the wireless case and AirPods. Do not use a hard brush. For the narrow spaces, one can use a fine brush to remove the dirt. Never let any liquid come in contact with your earbuds as well as the wireless case. Make sure to clean the tail of the earbuds with a soft Q tip. Also, make sure that the interior portion of the charging case is clean so as to avoid charging issues.
Method 5: Adjust Audio Balance
AirPods allow you to control the audio outputs in each AirPod individually. With the help of a slider, you can choose to make the left AirPod sound louder than the right one or vice versa. However, if the audio balance isn’t actually balanced wherein the slider should be in the middle, it could lead to AirPods connected but no sound issue. Option 1: For iOS Devices
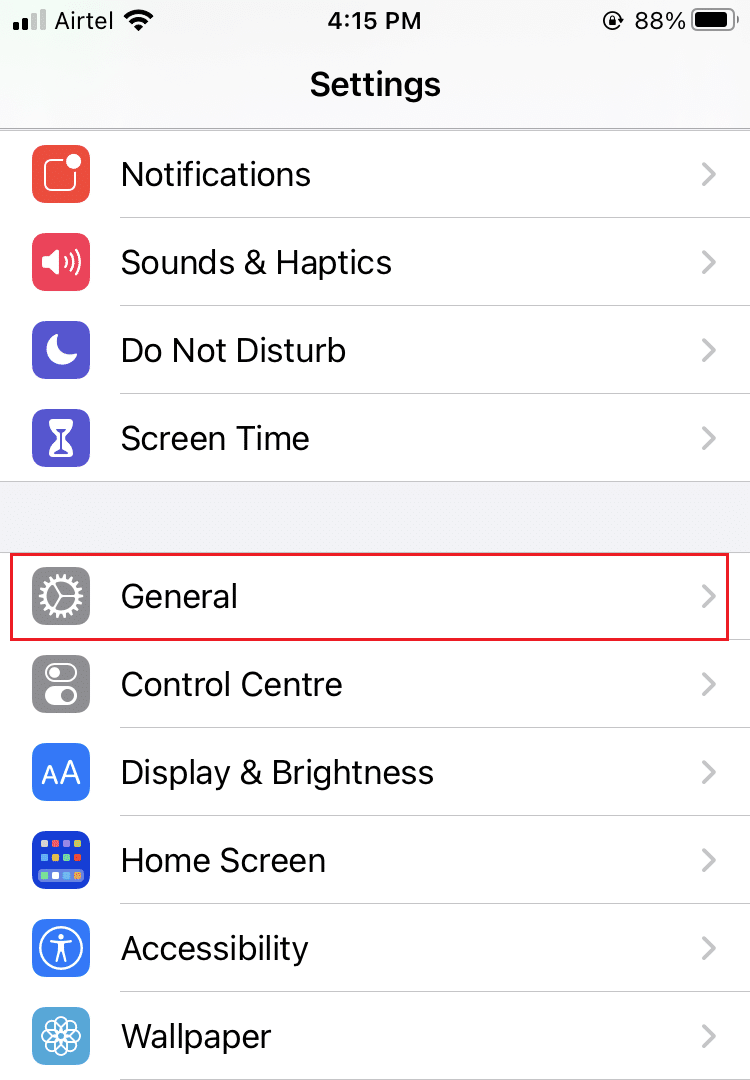
Go to Settings and select General.
Tap on the option titled Accessibility.
Here, you will see a toggle bar with L and R These stand for your left ear and right ear.
Make sure the slider is in the Center so that the audio plays equally in both the earbuds.
Check the Mono Audio option and toggle it Off, if enabled. Option 2: For MacOS Devices
Connect your AirPods to your MacBook and place at least one AirPod inside your ear.
Click on the Bluetooth option. Hover your mouse pointer over the arrowhead beside the AirPod Device Name.
Next, click on the Sound Preferences option.
Here, select the Output tab and click on your AirPods.
Now adjust the Audio Balance Slider to make sure that it is exactly in the middle as depicted above. Also Read: Fix One AirPod Louder Than The Other
Method 6: Turn off Automatic Ear Detection
One of the cool features of AirPods is that it can detect when you insert them in your ears. However, this feature does not work properly at times, and as a result, even when your AirPods are connected and placed in your ears, you do not get any sound. A lot of iPhone users have discovered a simple fix for this viz disabling the automatic ear detection feature.
Tap on the Settings menu and select Bluetooth.
In front of the AirPods, tap on (info) i icon.
Lastly, turn the toggle off for Automatic Ear Detection, as illustrated below.
Method 7: Update to the Latest Version
A newer version of any software program or operating system helps do away with device errors and corrupt firmware. If you are using an older version of operating system on your device, you might encounter AirPods or AirPods Pro connected but no sound error. Note: Make sure to not interrupt the installation process. Simply, disconnect your AirPods from your device and then follow the given steps. Option 1: Update iOS
Go to Settings > General as shown.
Tap on Software Update. 3A. In case updates are available, tap on Install. 3B. Or else, iOS is up to date message will be displayed.
Once the new software has been downloaded and installed, connect your AirPods again. Note: AirPods software will automatically get updated after reconnection. Option 2: Update macOS
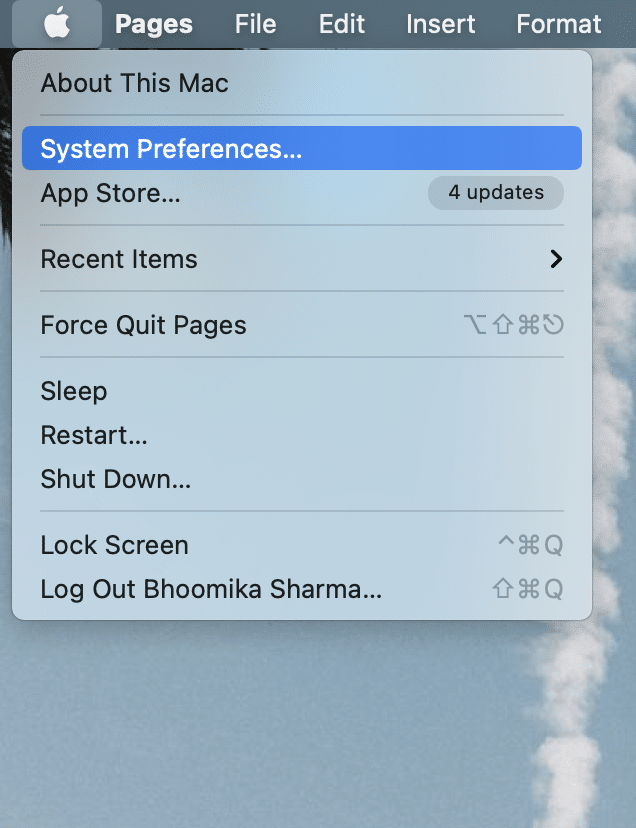
Open the Apple menu and select System Preferences as shown.
Then, click on Software Update.
Finally, if any update is available, click on Update Now button, as depicted below.
Reconnect AirPods and enjoy listening to music.
Method 8: Reset AirPods and Pair Again
If none of the above methods work, try clearing the slate to start from square one. You need to remove your AirPods from the list of paired devices, reset your AirPods, and then try pairing them again. Read our detailed guide on How to Reset your AirPods and AirPods Pro to do so.
Method 9: Contact Apple Support
If you are still not able to hear any sound from your AirPods, then unfortunately either your iPhone/Mac or the AirPods are not working properly. In order to pinpoint which device is at fault,
connect your AirPods to some other phone or computer. If it works properly, then the problem lies with your phone. You can consider resetting your phone to factory settings in this case. connect other bluetooth devices to the phone. If they work well, then AirPods might be damaged.
It is better to contact Apple Support or visit Apple Care. Based on the degree of damage, you might be eligible for servicing or a replacement of the product. Recommended:
Fix Discord Not Detecting Mic Fix AirPods Disconnecting From iPhone How To Check Apple Warranty Status How to Fix Microphone not Working on Mac
With that, we come to the end of this article. We hope that you could fix AirPods or AirPods Pro connected but no sound issue. Let us know which topic you want us to explore next.


