So, the answer to the above question is YES. Windows provides a way using which you can securely share data and content with people who are available at a very small distance from each other or may be in same the house. The way it is done in Windows is with the help of HomeGroup, you need to set up HomeGroup with all the PCs you want to share data with. HomeGroup: HomeGroup is a network sharing feature that allows you to easily share files across the PC over the same local network. It is best suited for a home network to share files and resources that are running on Windows 10, Windows 8.1, and Windows 7. You can also use it to configure other media streaming devices such as play music, watch movies, etc. from your computer to other devices at the same local network.
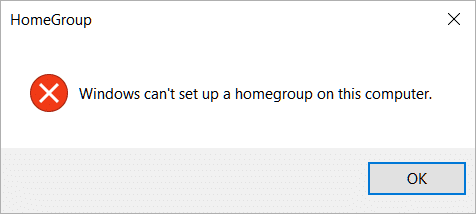
While setting up Windows HomeGroup there are few things which you should keep in mind: 1.Shut down all the other computers connecting to the same local network and only keep the computer open on which you are setting up HomeGroup to make sure everything will configure properly. 2.Before setting up HomeGroup male sure all your connecting devices are running on the Internet Protocol Version 6 (TCP/IPv6). After making sure the above two conditions are fulfilled then you can start setting up HomeGroup. HomeGroup is very easy to set up if you follow the step-by-step guide. But in Windows 10, setting up HomeGroup can lead to one of the following error messages:
HomeGroup cannot be created on this Computer HomeGroup Windows10 not working HomeGroup cannot access other computers Cannot connect to HomeGroup Windows10
Above are a few problems which are generally faced while setting up HomeGroup. So without wasting any time let’s see how to Fix Cannot Create HomeGroup On Windows 10 with the help of the below-listed guide.
Fix Cannot Create HomeGroup On Windows 10
Make sure to create a restore point just in case something goes wrong.
Fix Cannot Create HomeGroup On Windows 10 Method 1 – Delete Files From PeerNetworking Folder Method 2 – Enable Peer Networking Grouping Services Method 3 – Run HomeGroup Troubleshooter Method 4 – Allow Full Control To MachineKeys And PeerNetworking Folders Method 5 – Rename MachineKeys Directory Method 6 – Turn Off All Computers And Create A New HomeGroup
Method 1 – Delete Files From PeerNetworking Folder
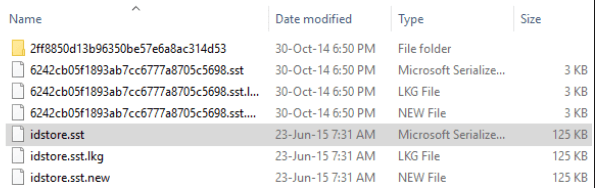
PeerNetworking is a folder present inside the C: drive where some junk files are present and occupy space on your hard disk which also hinder when you want to set up new HomeGroup. So, deleting such files may solve the problem. 1.Browse to the PeerNetworking folder through the path given below: C:\Windows\ServiceProfiles\Localservice\AppData\Roaming\PeerNetworking
2.Open PeerNetworking Folder and delete the file name idstore.sst. Right-click on the files and select Delete.
3.Go to the Network Settings and Click on HomeGroup. 4.Inside the HomeGroup click on Leave the HomeGroup.
5.Repeat all the above steps for the computers connected in your local network and sharing the same HomeGroup. 6.Shut down all the computers after leaving the HomeGroup. 7.Just leave one Computer powered ON and create HomeGroup on it. 8.Turn on all the other computers and the above create HomeGroup will now be recognized in all other computers. 9.Join the HomeGroup again which will fix Cannot Create HomeGroup On Windows 10 issue. 9.If the problem still persists then visit the same PeerNetworking folder as you have visited at step 1. Now instead of deleting any one file, delete all the files and folders available inside PeerNetworking folder and repeat all the steps again.
Method 2 – Enable Peer Networking Grouping Services
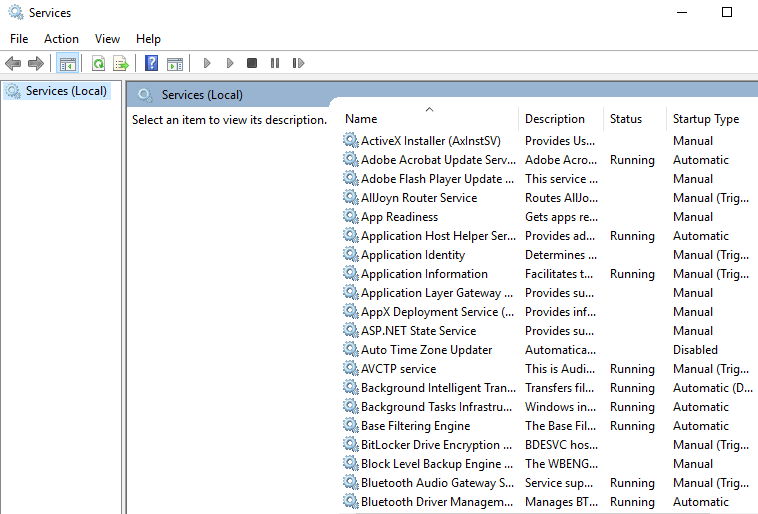
Sometimes, it is possible that the services you need to create HomeGroup or to join HomeGroup are disabled by default. So, in order to work with HomeGroup, you need to enable them. 1.Press Windows Key + R then type services.msc and hit Enter.
2.Click OK or hit the Enter button and below dialog box will appear.
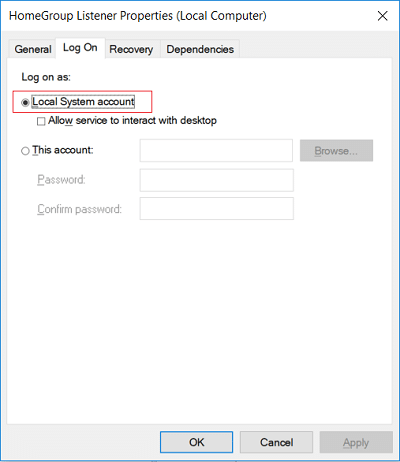
3.Now make sure the following services are configured as follows: 4.To do this, double-click on above services one by one and then from Startup type drop-down select Manual.
5.Now switch to Log On tab and under Log on as checkmark Local System account.
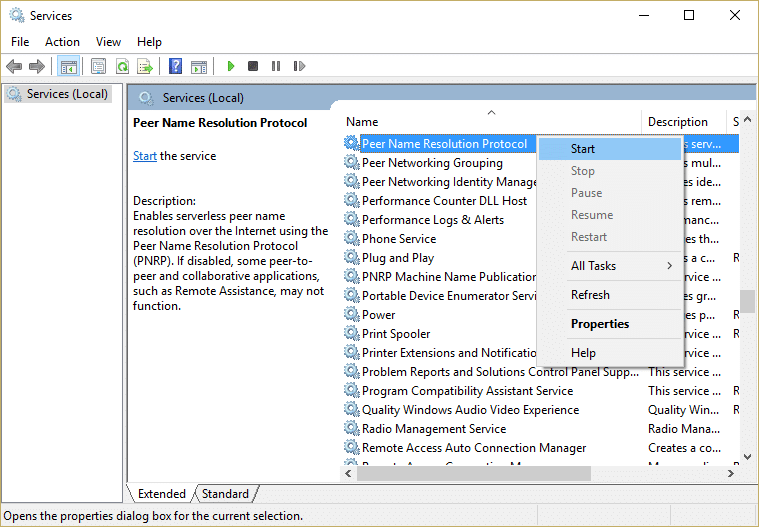
6.Click Apply followed by OK. 7.Right-click on Peer Name Resolution Protocol service and then select Start.
8.Once the above service is started, again go back and see if you’re able to Fix Windows can’t set up a HomeGroup on this computer error. If you can’t start Peer Networking Grouping Service then you need to follow this guide: Troubleshoot Can’t Start Peer Name Resolution Protocol Service
Method 3 – Run HomeGroup Troubleshooter
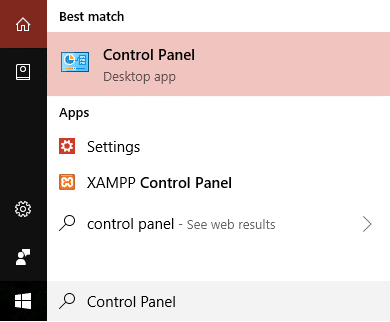
1.Type control in Windows Search then click on Control Panel.
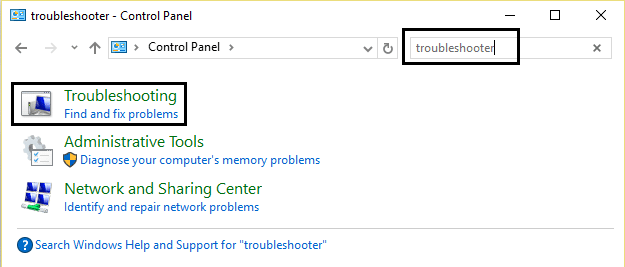
2.Type troubleshoot in the Control Panel search and then click on Troubleshooting.
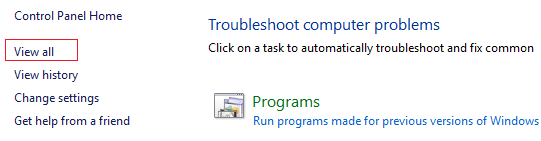
3.From the left-hand panel click on View all.
4.Click Homegroup from the list and follow the on-screen instructions to run the Troubleshooter.
5.Reboot your PC to save changes.
Method 4 – Allow Full Control To MachineKeys And PeerNetworking Folders
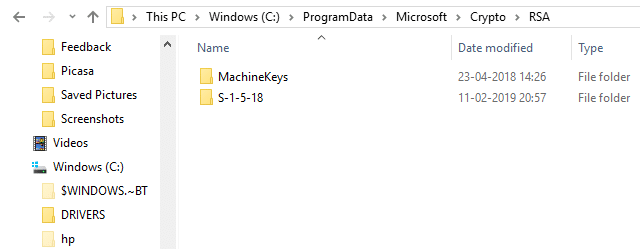
Sometimes, some folders which need HomeGroup to work don’t have the appropriate permission from Windows. So, by providing them full control you can solve your problem. 1.Browse to the MachineKeys folder by following the below path: C:\ProgramData\Microsoft\Crypto\RSA\MachineKeys
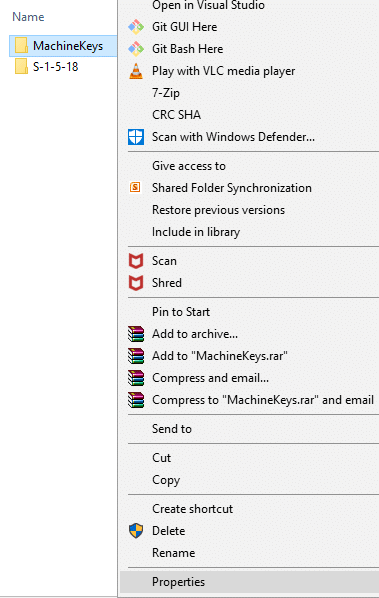
2.Right-click on MachineKeys folder and choose Properties.
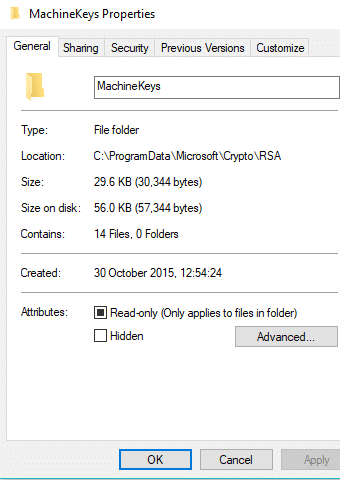
3.Below dialog box will appear.
4.Go to Security tab and group of users will appear.
5.Select the appropriate username (in most cases it will be Everyone) from the group and then click on Edit button.
6.From the list of permissions for Everyone checkmark Full Control.
7.Click on the OK button. 8.Then browse to the PeerNetworking folder by following the path given below: C:\Windows\ServiceProfiles\Localservice\AppData\Roaming\PeerNetworking
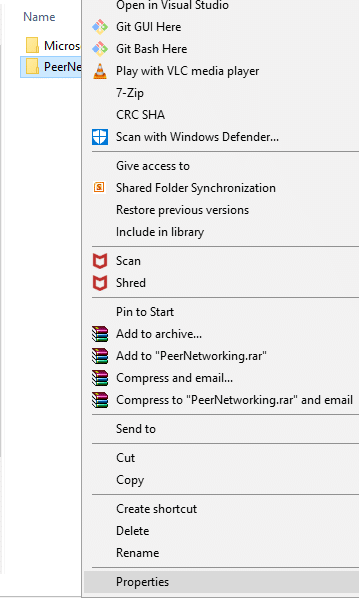
9.Right-click on PeerNetworking folder and choose Properties.
10.Switch to the Security tab and you will find group or user name there.
11.Select System then click on the Edit button.
12.Check in the list of options if Full Control is allowed or not. If not allowed then click on Allow and then click OK. 13.Perform the above steps in all the computers you want to connect to HomeGroup.
Method 5 – Rename MachineKeys Directory
If you are not able to set HomeGroup then there may be a problem with your MachineKeys folder. Try to solve your problem by changing its name. 1.Browse to the MachineKeys folder by following the below path: C:\ProgramData\Microsoft\Crypto\RSA\MachineKeys
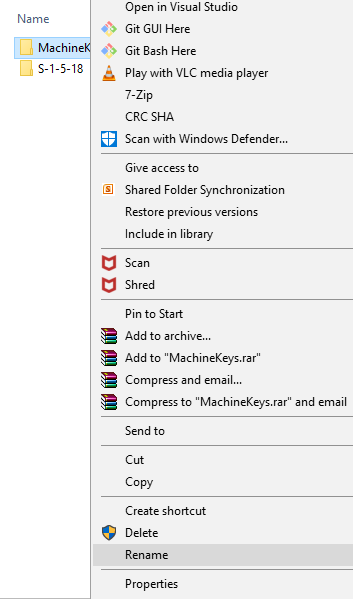
2.Right-click on the MachineKeys folder and select the Rename option.
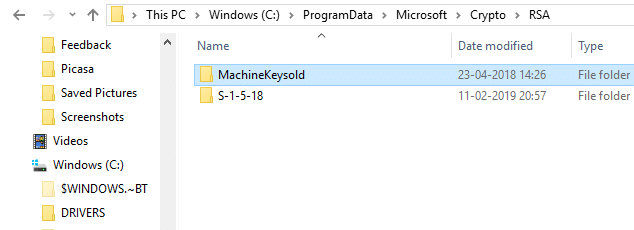
3.Change the name of MachineKeys to MachineKeysold or any other name you want to give.
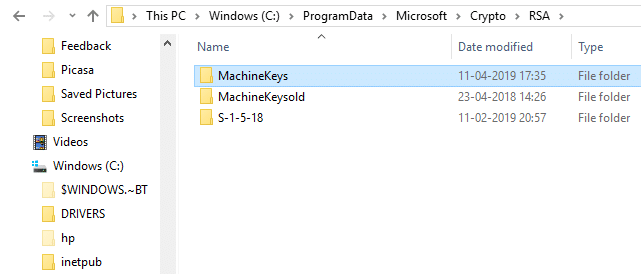
4.Now create a new folder with name MachineKeys and provide it full control. Note: If you do not know how to give full control to the MachineKeys folder then follow the above method.
5.Perform the above steps for all the computers connected to the local network and with whom you have to share HomeGroup. See if you’re able to Fix Cannot Create HomeGroup On Windows 10 issue, if not then continue with the next method.
Method 6 – Turn Off All Computers And Create A New HomeGroup
If you are unable to set up HomeGroup, then there may be chances that there is no problem with your PC but the other computers connected in your network have a problem and therefore, they are not able to join the HomeGroup. 1.First of all stop all the services running on your computer starting with the name Home and Peer by visiting the Task Manager, selecting that task and click End Task. 2.Perform the above step for all the computers connected in your network. 3.Then browse to the PeerNetworking folder by following the path given below: C:\Windows\ServiceProfiles\Localservice\AppData\Roaming\PeerNetworking
4.Open the PeerNetworking folder and delete all the files and folders available inside it and do this for all the computers connected to your network. 5.Now turned off all the computers completely. 6.Turn on any one computer and create new HomeGroup on this computer. 7.Restart all the other computers of your network and join them with the newly created HomeGroup which you have created in the above step. Recommended:
How to Check Your PC’s Specification on Windows 10 Fix Startup Repair Infinite Loop on Windows 10/8/7 2 Ways to Create a Guest Account in Windows 10 What is a CSV file & How to open a .csv file?
I hope this article was helpful and you can now easily Fix Cannot Create HomeGroup On Windows 10, but if you still have any questions regarding this tutorial then feel free to ask them in the comment’s section.