With an overlaying feature, you can make the watermark of your brand appear on the other photo, which really looks cool. Moreover, you can also protect your edits and arts from other people. But all of this cannot be done until you have a top-notch editing software under your sleeves. So let us introduce you to BeFunky and LightX. BeFunky can be used to edit the photos online whereas, LightX can be used if you want to overlay one photo over the other using the Android and iOS devices. Recommended Read: How To Detect Photoshopped Images
Put One Picture On Top Of Another Picture
Using The BeFunky Online Tool
If photo editing is something that you do once in a blue moon then you can make use of the online software, BeFunky. The tool has a really clean interface and is really easy to use.
1 Put One Picture On Top Of Another Picture1.1 Using The BeFunky Online Tool1.2 Using The LightX Android And iOS App2 Wrapping Up
- Using the browser, open the official site of BeFunky and click on Get Started on the home page.
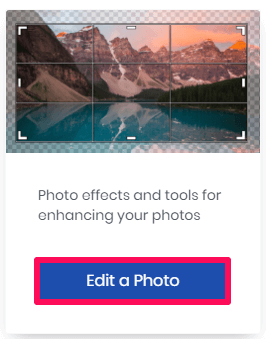
- Now click on Edit a Photo option.
- The editing area of the tool will now appear on the screen.
- Click on the Open option at the top of the screen and select Computer. Then go to the folder where the photo that you want to edit is saved. You can also simply drag and drop the photo in the editing area.
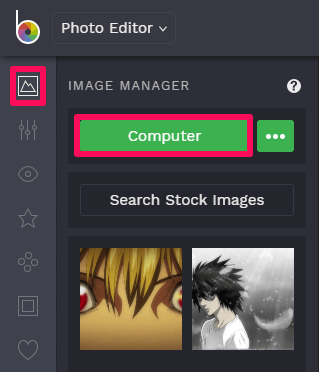
- In the next step, click on the Image Manager option at the top left to add the photo that you want to superimpose over the other. After that, click on Computer if the photo is saved locally on your device and then select the photo. You can also search for the photos online if you want by clicking on Search Stock Images.
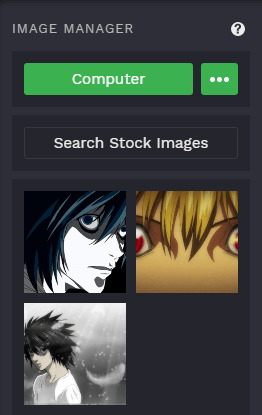
- The image will now get added to the Image Manager. Now drag and drop the first image on the second one.
- After dragging and dropping, Image Properties will get open. To manage the opacity of the image, click on Options and then adjust opacity according to your needs. You can also blend the image in many other ways.
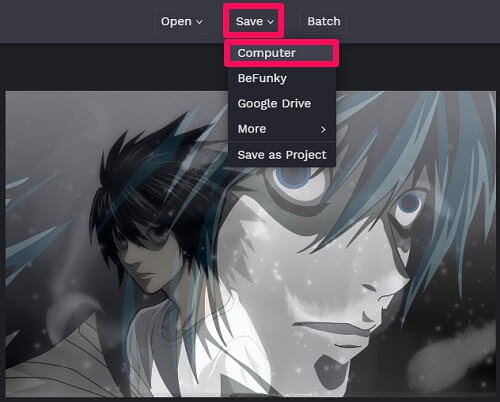
- After one photo is overlayed on the other and all the editing work is done, it is time to save the image. For that, click on the Save option on the top and then select the Computer option to save the image on your device. You can choose other options for saving the images as well.
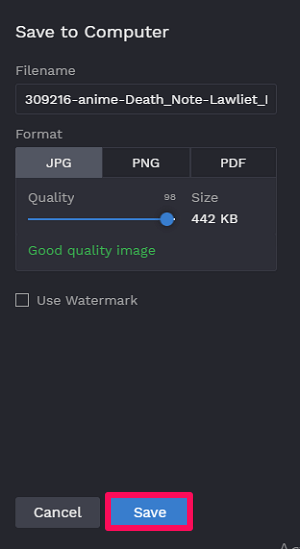
- Finally, change the filename if you want, select the desired format for your image, change the quality of the image if desired and click on Save option. With this, you have successfully superimposed one image over the other online.
Using The LightX Android And iOS App
The LightX app is available for both Android and iOS devices and works in an outstanding way. Other than putting one photo over the other, there are many other tools in the app that can be used to make your photo look amazing. The app works almost the same for both the Android and iOS devices.
- Download the LightX app – LightX on Play Store, LightX on App Store. After downloading the app, give necessary permissions to the app. Log in with your Google or Facebook account and get started with the app.
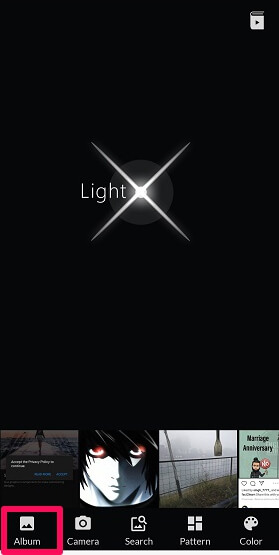
- Now select the photo that you want to edit from the main screen of the app or by tapping on the Album option at the bottom left.
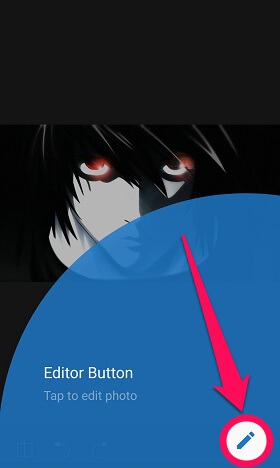
- In the next step click on the Editor Button option.
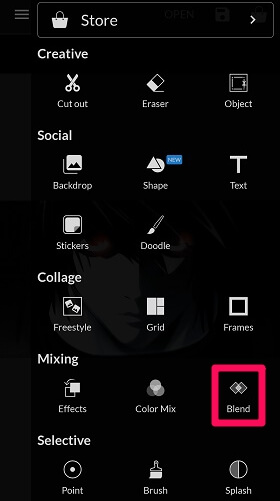
- From the various options available, scroll down and select Blend under Mixing.
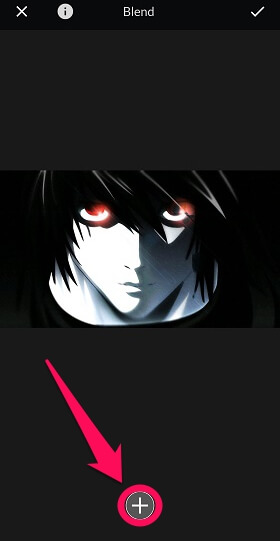
- Click on the plus icon to add another image over the existing one. In the case of an iOS device, tap on Add Image.
- Now select the same Album option to add another photo.
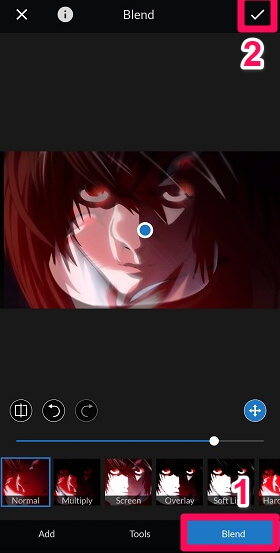
- After that, jump to the Blend option and manage the opacity according to your needs. You can also make use of the other options available like multiply, screen, overlay, etc. and tap on the tick icon after that.
- Tap on the save icon at the top right corner.
- Finally, select the Format and Quality of the image and tap on Save option to save the image locally on your device. The edited image has been successfully saved on your device under the LightX folder. Not just for superimposing of the photos, the software can be used for editing your image in many other ways. Recommended Read: How To Add Arrows To Pictures On Android And Windows
Wrapping Up
The purpose of overlaying two photos can be different for different people. Some might want to make their watermark appear on the other photo, some might do it for securing their work from others, while some might do it just for the sake of making the photos attractive. Whatever be the case, now we know how to put one photo over the other with the help of online software as well as the mobile app. If you simply need to stitch two photos together, take a look at this post with options that might be more suitable to you.
Save my name, email, and website in this browser for the next time I comment. Notify me of follow-up comments via e-mail.
Δ